One Rescuer Adult BLS CPR
Be Safe
- If inside, watch for dangers such as construction debris, unsecured weapons, violent individuals, electrical hazards.
- If outside, watch out for downed electrical wires, leaking fuel from car accidents, building collapse, or natural disaster/dangerous weather conditions. (Drowning persons should be removed from the water and dried off; they should also be removed from standing water, such as puddles, pools, gutters, etc.).
- Be sure you do not become injured yourself.
Assess the Person
- Tap hard on their shoulder and shout “Hey, are you OK?” Yell their name if you know it.
- Check to see if the person is breathing. (Agonal breathing, which is occasional gasping and is ineffective, does not count as breathing.)
Call EMS
- Send someone for help and to get an AED.
- If alone, call for help while assessing for breathing and pulse. (The ILCOR emphasizes that cell phones are available everywhere now and most have a built-in speakerphone. Call for help without leaving the person.)
CPR
- Check pulse simultaneously with checking for breathing. Do not pause more than 10 seconds to check for breathing and pulse.
- Begin compressions and delivering breaths.
Defibrillate
- Turn on the AED upon arrival and attach the pads when directed.
- Listen and perform the steps as directed.
CPR STEPS
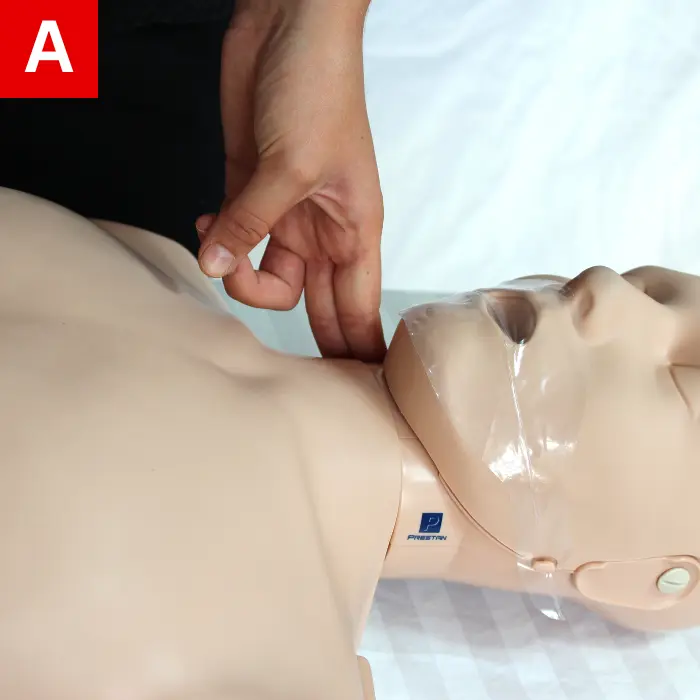
- Check for the carotid pulse on the side of the neck (Figure 4a). Keep in mind to not waste time trying to feel for a pulse; feel for no more than 10 seconds. If you are not sure you feel a pulse, begin CPR with a cycle of 30 chest compressions and two breaths.
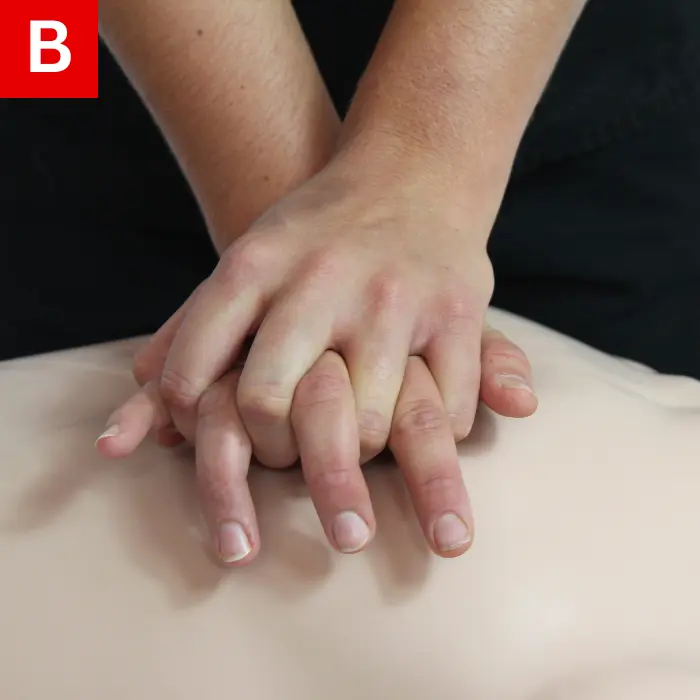
- Use the heel of one hand on the lower half of the sternum in the middle of the chest (Figure 4b).
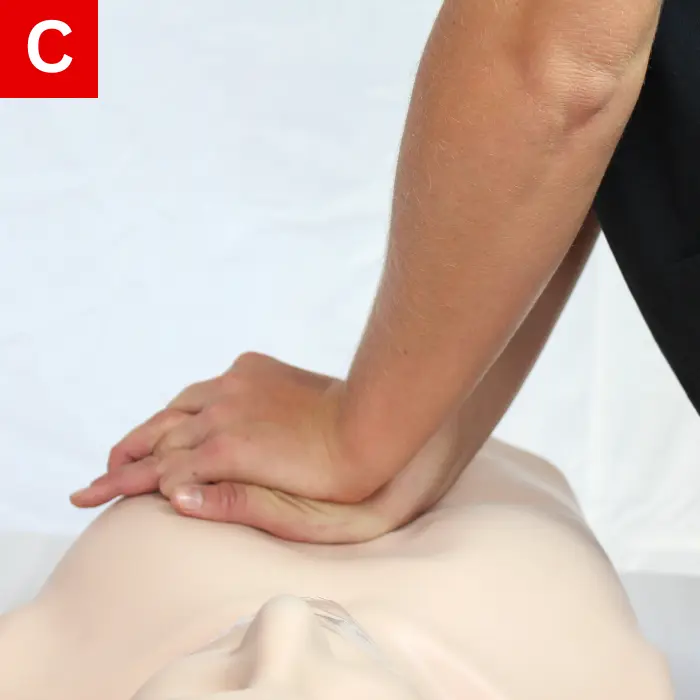
- Put your other hand on top of the first hand. (Figure 4c).
- Straighten your arms and press straight down (Figure 4c). Compressions should be 2 to 2.4″ (5 to 6 cm) into the person’s chest and at a rate of 100 to 120 compressions per minute.
- Be sure that between each compression you completely stop pressing on the chest and allow the chest wall to return to its natural position. Leaning or resting on the chest between compressions can keep the heart from refilling in between each compression and make CPR less effective.
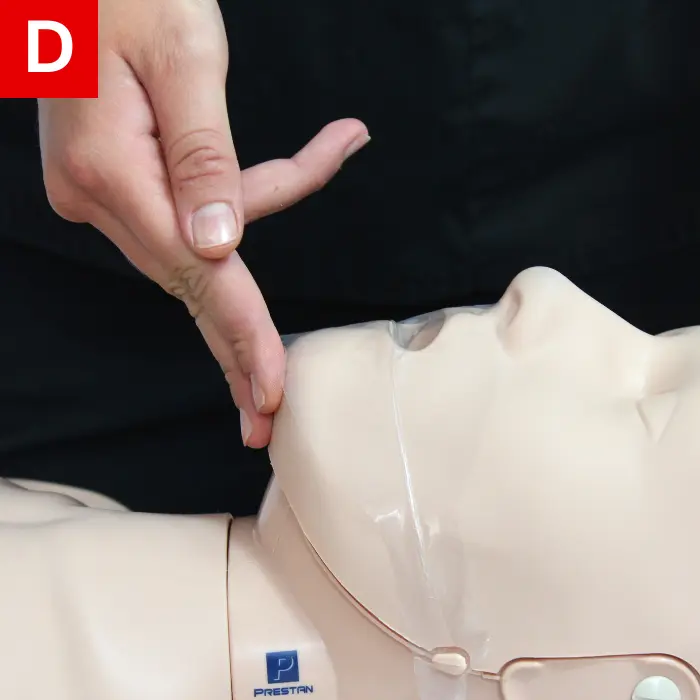
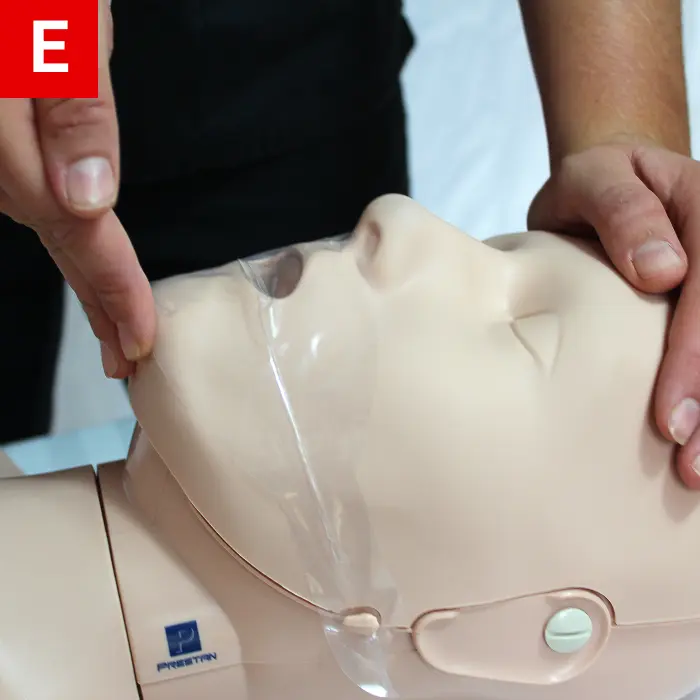
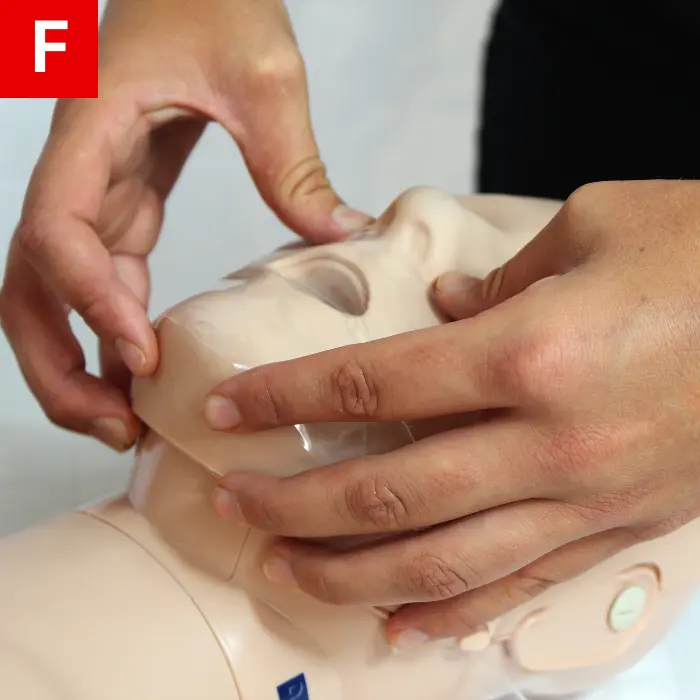
- After 30 compressions, stop compressions and open the airway by tilting the head and lifting the chin (Figure 4d &4e).
- Put your hand on the person’s forehead and tilt the head back
- Lift the person’s jaw by placing your index and middle fingers on the lower jaw; lift up (Figure 4f).
- Give a breath while watching the chest rise. Repeat while giving a second breath. Breaths should be delivered over one second.
- Resume chest compressions. Switch quickly between compressions and rescue breaths to minimize interruptions in chest compressions.


